We love rye bread here at the Lazy J Bar C and eat it often! I make at least six different types of rye bread to sell at the Farmer's Market. This is my basic rye bread recipe that I can "change up" to get different varieties. The picture below shows Onion Rye on the left, Caraway Rye in the back and Dill Rye in the front. These three are very consistent sellers and the Onion Rye makes for a
killer patty melt!
Rye Bread
1 1/4 cups milk
2 tablespoons butter
2 tablespoons sugar
1 1/2 teaspoons salt
2 1/2 cups bread flour
1 1/2 cups medium rye flour
2 teaspoons bread machine yeast OR 1 packet active dry yeast (If using active dry yeast, dissolve it in the warm milk before combining with the remaining ingredients.)
Now here is where you can vary the type of rye bread you are making.
Add 1 tablespoon caraway seeds
OR 3 tablespoons dried chopped onion
OR 1 tablespoon dried dill weed and 1 tablespoon dried dill seed
For today's post, I'm featuring the Dill Rye shaped into half loaves. The half loaves have become very popular at the Farmer's Market, people like being able to mix and match two types of bread or just buy a small loaf if they are single or have a smaller family. I have found that when most people say they don't like rye bread it's really the caraway seeds that they don't like. This Dill Rye has no caraway seeds just lots of lovely dill flavor.
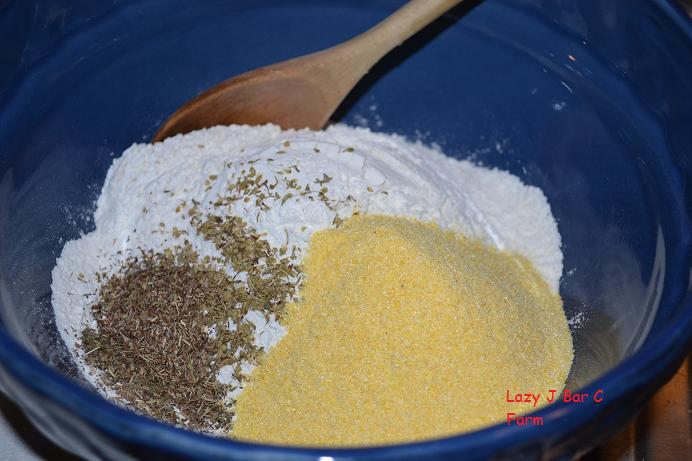
Mix, knead and let your dough rise until doubled using your favorite method; bread machine, manual or stand mixer. Shape into a loaf and place in a greased 9 x 5 x 3-inch bread pan. I love the "feel" the rye flour gives to the dough, totally different than using all wheat flour.
Let the dough rise in a warm place until nearly doubled.
Bake in a preheated 375 degree oven for 30 minutes or until done. Cover loosely with foil after about 10 minutes to prevent over browning.
No matter which version you make, this bread has a lovely light texture and slices beautifully. It's funny, living here in the desert southwest, I can find Masa flour all day long but I have to buy my rye flour at a health food store! LOL!!
One of these days, I will post the recipe for the dark Pumpernickel Rye and Jerry's favorite, the Scandinavian Rye with fennel, caraway, dried orange peel, molasses and buttermilk! :) I'm linking up to
The Country Homemaker Hop with Heidi at
My Simple Country Living.